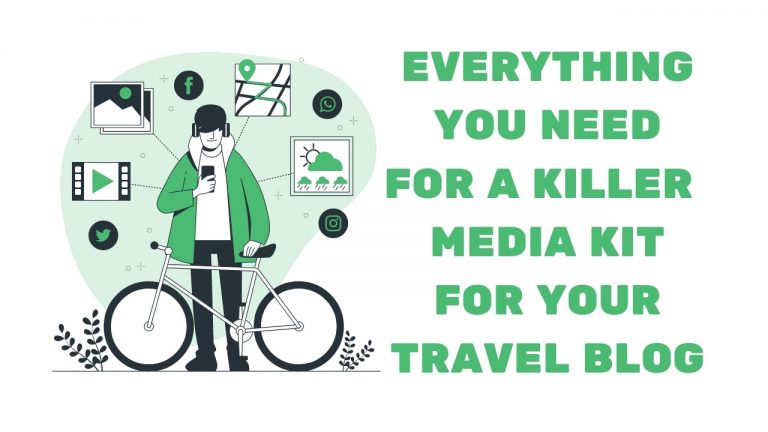
Whether you’re a full-time travel blogger or micro-influencer, you may have seen a “work with me” or “media kit” option in another blogger or influencer’s header or footer. This is a common, if not an essential, feature for any serious blogger, no matter where you lie on the scale that runs from hobbyist to professional.
A travel media kit and rate card can be all the difference between you earning paying brand deals and tirelessly working on your blog with no end result. In this guide, we’re going to show you everything you need to create a fantastic media kit, specifically for travel blogs.
We’ll also include some great examples from which you can gain inspiration. You’ll find our free template, which can help you spread your blogging wings across the world and reach new businesses.
Top Tip: If you need help creating your media kit, we offer a range of fantastic writing services with SEO in mind.

What Is a Media Kit for Travel Bloggers/Influencers?
Before you create and write your media kit for your travel blog, you first need to understand what it entails. It is basically a CV for your website, helping share facts, statistics, branding resources, and any extra info about your blog in one small package, which you can easily send to collaborators or advertisers.
A media kit can be used to display prices for your work or services. It’s a good way for a business to see all the information they need in one place. The key factors they look for include how much traffic your site has and how much it costs to advertise on it. Potential partners will use that to decide if that is a worthwhile investment or not.
Why You Need a Media Kit for Travel Blogging
Whether hoping to broaden your reach within your niche or turn your blog post from a hobby to a form of passive income, a media kit can make all the difference. It’s an opportunity to showcase your skills, what you’re interested in, and why it makes sense for a company to pair up with you.
Your media kit essentially serves as an online resume for potential brand deals. That said, it shouldn’t sound too sales-pitchy; rather, it should focus on providing details on why the collaboration can benefit the brand.
If you’re visiting a travel conference, having a quick link to a well-designed media kit and rate card can further boost your collaborative opportunities within the market.

How to Create a Media Kit and Rate Cards | Tips to Keep in Mind
From a sponsor paying for your next adventure to promoting products you truly value, the benefits of a high-quality rate card are massive. To help you stand in good stead within your niche and target the right brands, here are some quick tips to keep in mind.
Top Tip: If you want to take things to the next level, here’s our list of the best ways to earn money as a travel blogger.
Creating Personal Content Is Key
As a travel blogger, you visit destination after destination, each offering a unique experience. So remember, you’re not a robot spewing out simple facts. Ensure your media kit shows your personality and provides more than one reason for a brand to partner with you.
Your personality is partially what sets you apart from every other blogger, so make the most of this. Providing a bio that inspires and leaves brands wondering what could be is the end goal after all.
Yes, you’ll need to present your stats and more to-the-point details, but these should be supported by what makes you the ideal fit for a brand.
Show Your Expertise
Showcasing your expertise isn’t just about providing the stats behind your website and Instagram traffic. Expertise is also seen in the quality of the content you produce, the places you’ve explored, and the reliability of your work.
Providing photography of your adventures is one such way to incorporate your personality and expertise into your media kit. Including links to an article or two, examples of previous partnerships, and any awards you may have won for your work is yet another way to share your skills.
Note: Including videos in your media kit can significantly help your chances of showing your expertise. Just be sure the videos target the audience and sectors you hope to work with. If not, it won’t necessarily hurt to leave them out.

Keep the Design/Layout Simple and Easy-to-Follow
Anyone can access and create a media kit, but trust us when we say a well-designed kit can make or break your chances of collaboration.
Landing those opportunities with brands you want to work with isn’t easy, considering how saturated the travel industry is. You want a brand to read your media kit without being confused or distracted.
That doesn’t mean presenting a plain white page with writing. You still want your personality to come out and for the media kit to grab the attention of the reader. Simply put, structuring the kit so it’s easy to follow and ticking all the boxes of what a company is looking for is the end goal.
A Full Guide on What to Add to Your Travel Blogger Media Kit
Now that we understand what a media kit entails, let’s take a look at some of the important features of a well-rounded media kit. It’s important that you understand why each of these features is important so you can focus on details in the right areas of your package.
Top Tip: This infographic briefly covers the six essential steps to a media kit.
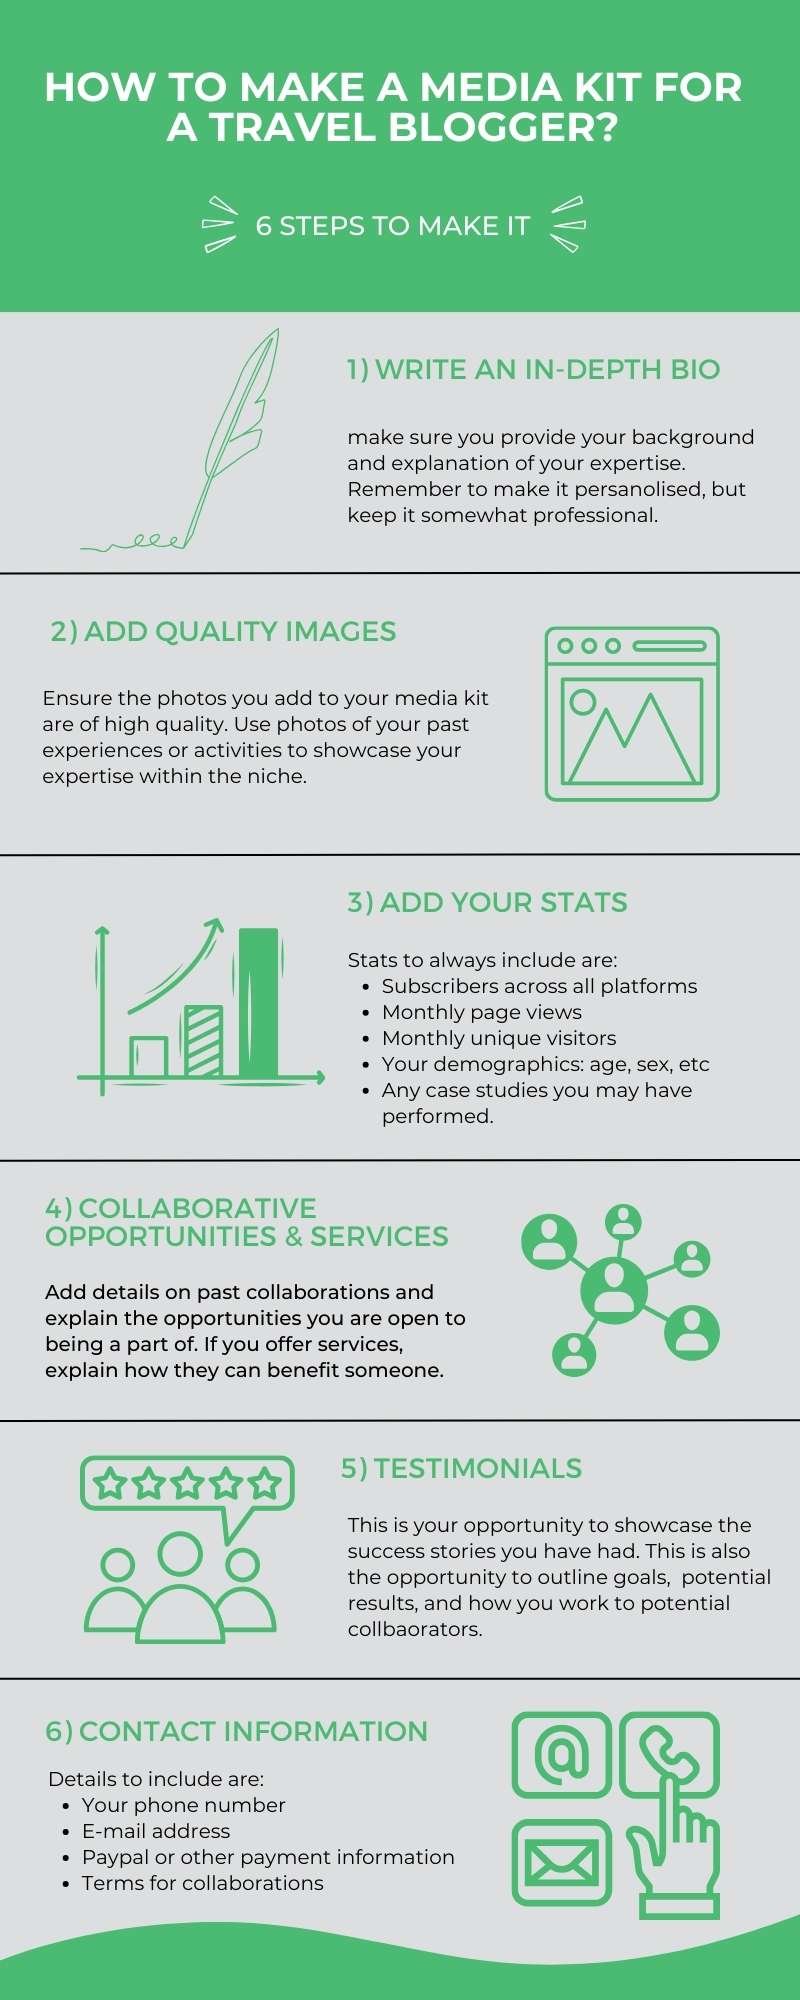
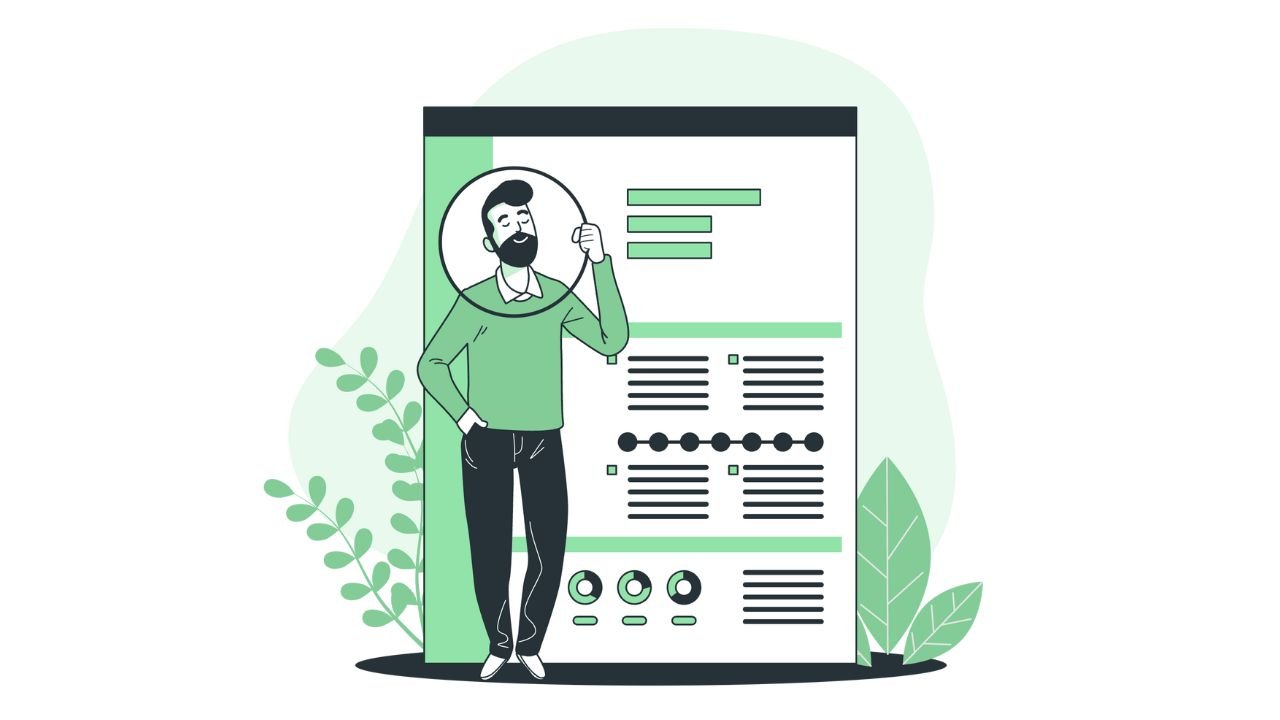
1. A Well-Written Bio
The first and most important feature of your media kit is a bio about yourself. Advertisers want to “meet” the person behind the website, so be sure to make it personal and detailed.
You should include a bit about your own background, as well as the background of your blog or website.
Some things to include are:
- An introduction that encapsulates your blog’s essence and personality.
- Details about who you are and what you do.
- When and why your blog was started.
- How you came up with the name.
- A story about how you came up with the idea to start your blog.
Remember to be personable. After all, you’re trying to sell yourself and the site as one package. Treat this bio as the first few things you would say in a job interview — but don’t be too ‘sales-ey’. You do want to ‘hook’ the reader in the process of reading your bio. This is, after all, a sales pitch in disguise.
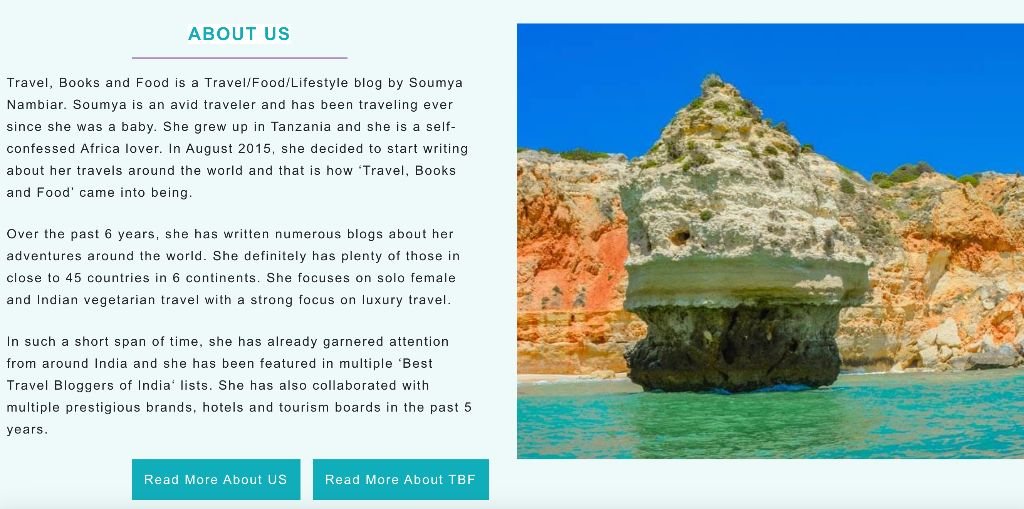
Here’s a good example of a bio by Travel Books Food
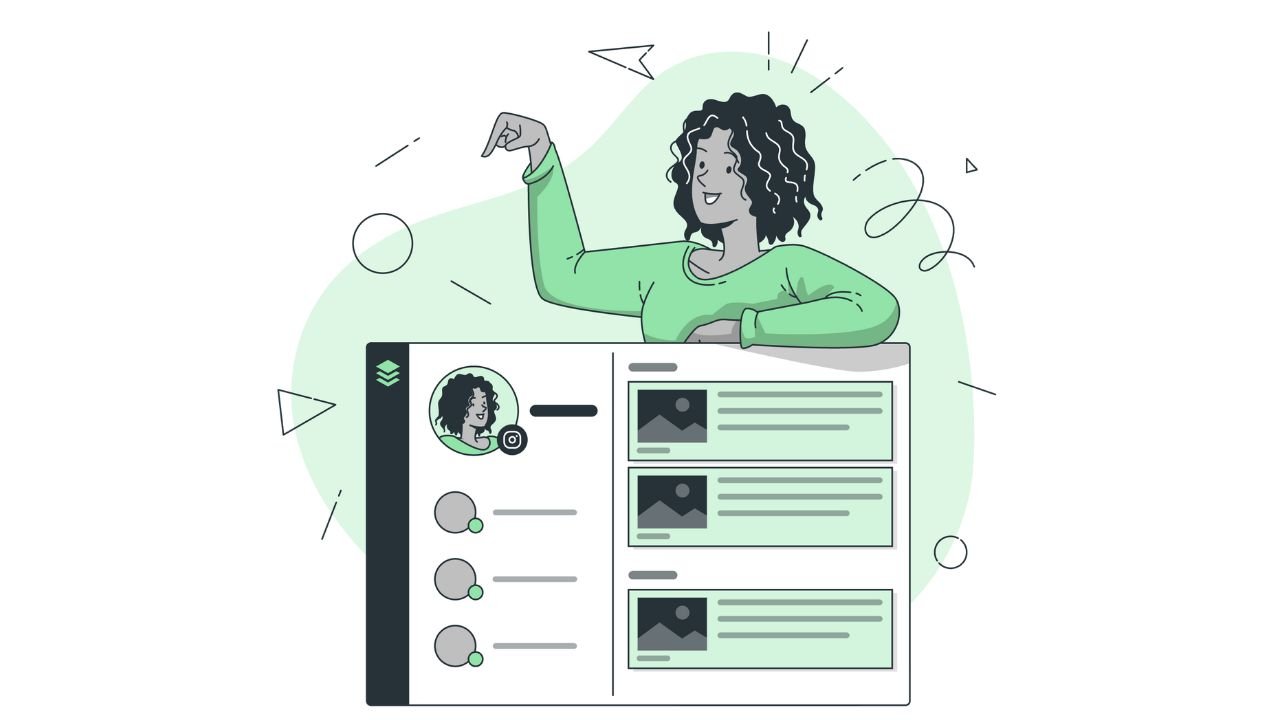
2. Quality Images
A media kit that’s just walls and walls of text is an instant day-ruiner. It’s important to break it up with some personal photography of your experiences. You can use images of previous collaborations you’ve done or some high-quality photos from your best posts.
Professional images show any prospective advertisers or collaborators that you’re prepared to put some money down. This shows your willingness to invest in your own brand and ensure quality and consistency that translates to the brand during your partnership.
Lastly, be sure to include your logos or any branded marks that a collaborator or advertiser may need. This is imperative.
All the photos you’ve included, as well as the logos or any brand assets, should be freely available to download.
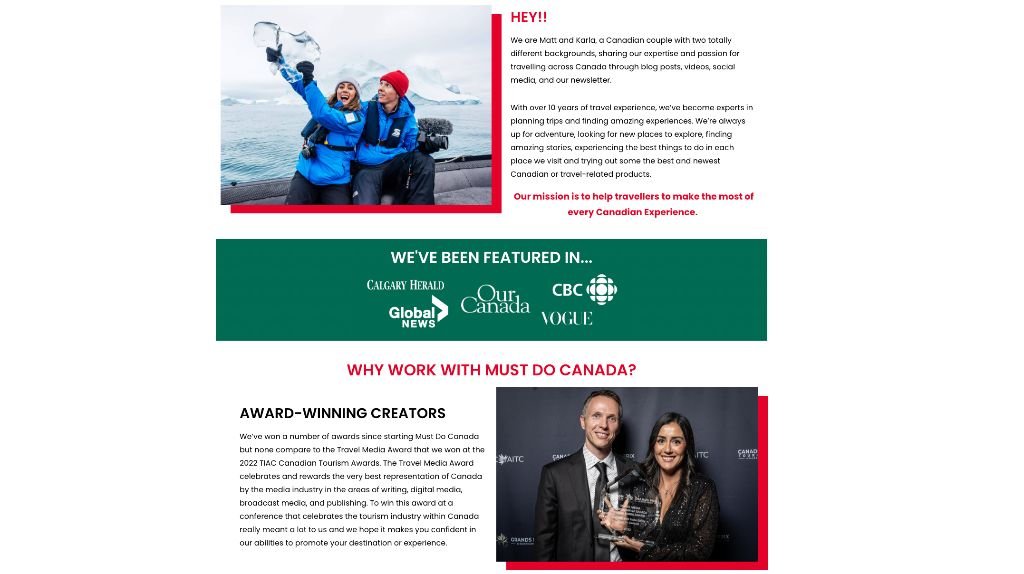
Here’s a good example of image usage by Must Do Canada
3. Website Statistics (Traffic, Demographics & Audience)
Now, we’re starting to get to the heart of your media kit. The thing that will interest potential advertisers the most is your site statistics.
You don’t need to include pages and pages or every single stat from your site. It is recommended that you include some easy-to-understand graphs and information covering the most important statistics on your website. Some of these include details on your site traffic, audience size, social media reach, previous and potential growth, etc.
Here are the statistics to always include:
- Your subscribers across all platforms
- Your monthly page views
- Your monthly unique visitors
- Your demographics, such as age, sex, location, etc.
- Any case studies you may have performed
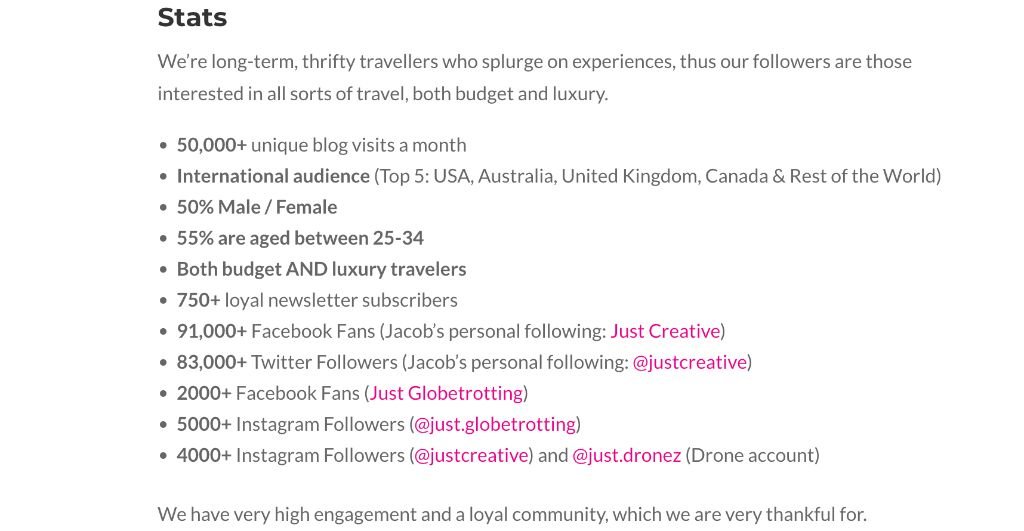
Here’s a good example of adding stats by Just Globetrotting
4. Collaborative Opportunities and Services
Now that potential partners know the stats, it’s time to speak about the services you offer. These can vary significantly, depending on your website’s focus, but there are a few common services that almost every blogger offers.
These include, but aren’t limited to:
- Press Trips and destination campaigns
- Product Reviews
- Sponsored posts on the blog or social media
- Competition promotions
- Events
- Brand ambassadorships and photography
- Videography and photography
Keep some of these in mind and outline these packages in your media kit. Only include services that align with your travel blog, though.
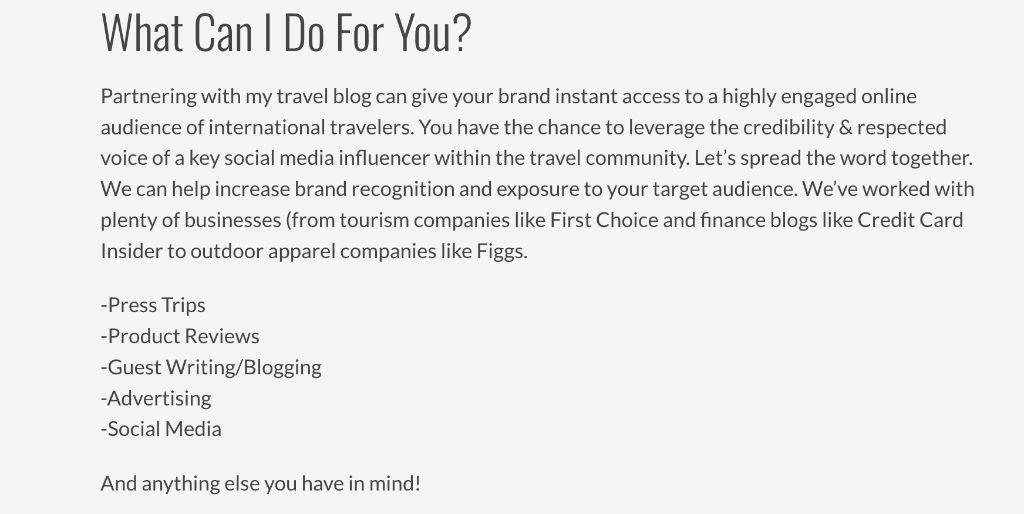
Here’s a good example of how to add services to your media kit by Lust For The World
5. Testimonials and Previous Work
There’s no better assurance of quality than a well-written and sincere testimonial. Testimonials form an essential part of almost any portfolio and display previous collaborations you’ve done. They show the results of your collaborations and are a great way to tie it all together.
You should always mention a few things:
- What the goals of the collaboration were
- What the results were like
- How you achieved said goals
There’s no need to go into detail; just keep it short and sweet but statistically dense. If you have had successful collaborations in the past, you would have received some great feedback. Ask the collaborators what they thought about working with you, and add these little titbits into your media kit.
Use WordPress plugins like OptinMonster to track your outbound clicks and show examples of how you are driving traffic to other people’s sites.
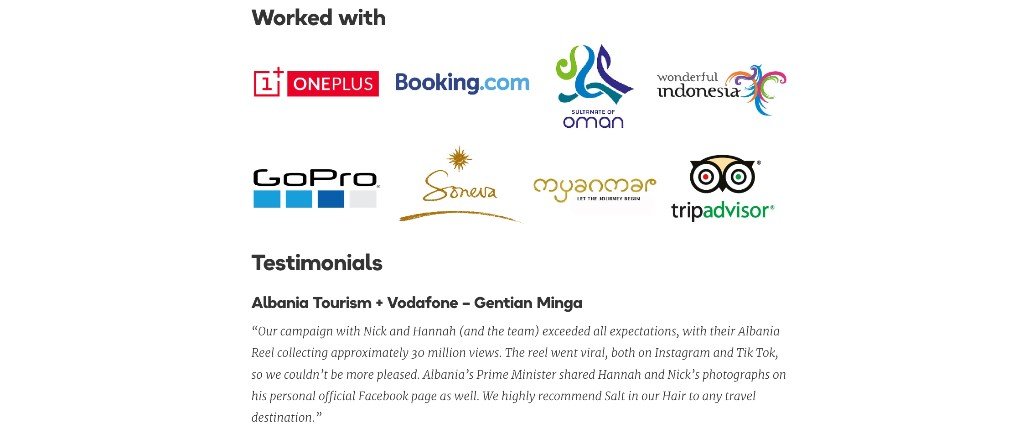
Here’s a good example of how to add Testimonials and previous work by Salt In Our Hair
6. Contact Information
The last thing you need to bring into your media kit is a clear and concise contact section. Do they need to fill in a form, email you directly, or simply enquire?
This process needs to be made clear so they know exactly where to go when they want to get the ball rolling. The easier it is for them to contact you, the easier it is for you to start making some passive earnings from collaborations.
Some things you can include are:
- Your phone number
- E-mail address (make sure it’s one you check regularly)
- Paypal or other payment information
- A breakdown of time frames for collaborations
If you want all potential partnerships in one place, setting up a contact form is the easiest way to do so.

Here’s a good example of a contact section by Sunshine Seeker
FAQs About the Ideal Travel Influencer Media Kit
Before you head off and start making your media kit, here are all the short answers you need to frequently asked questions.
What Is the Difference Between a Rate Card and a Media Kit?
Rate cards are generally a document/table with all your pricing details for collaborations. These are generally sent through after your media kit has gotten a brand to contact you.
How Many Pages Should a Media Kit Be?
This really depends on your travel blog, but keeping it short and sweet is ideal — think between two and five pages. For your website, you make the media kit/work with us page more detailed, but including a downloadable media kit is always a great idea.
Who Needs a Media Kit?
Whether you’re a micro-influencer or a full-time blogger, it’s best to have a media kit. Tour agencies and travel brands also have a media kit most of the time, so it’s a really helpful tool for just about anyone.
How Often Should You Update Your Media Kit?
There’s no right or wrong answer here, but keeping it up-to-date is a necessity. One way to always have current stats is by embedding a Looker Studio report into your media kit.
Note: Your website will need to support the HTML iframe tag.
Final Thoughts on Making a Travel Content Creator Media Kit
When combined, these steps and our template will help you have a professional-looking media kit in no time at all. Just remember, you are still selling your brand and yourself, but you don’t want to look like a salesperson. Be friendly and informative, and the advertisers will start rolling in.
Before leaving, consider reading our review on how you can increase traffic to your blog

Matt is a travel entrepreneur with over a decade of experience across digital marketing, operations, and asset investment. His ventures include founding the agency Travel Tractions, successfully buying and selling multiple travel websites, and owning a boutique hotel in his home base of Cape Town. His writing focuses on the intersection of data-driven marketing and real-world business growth in the tourism sector.